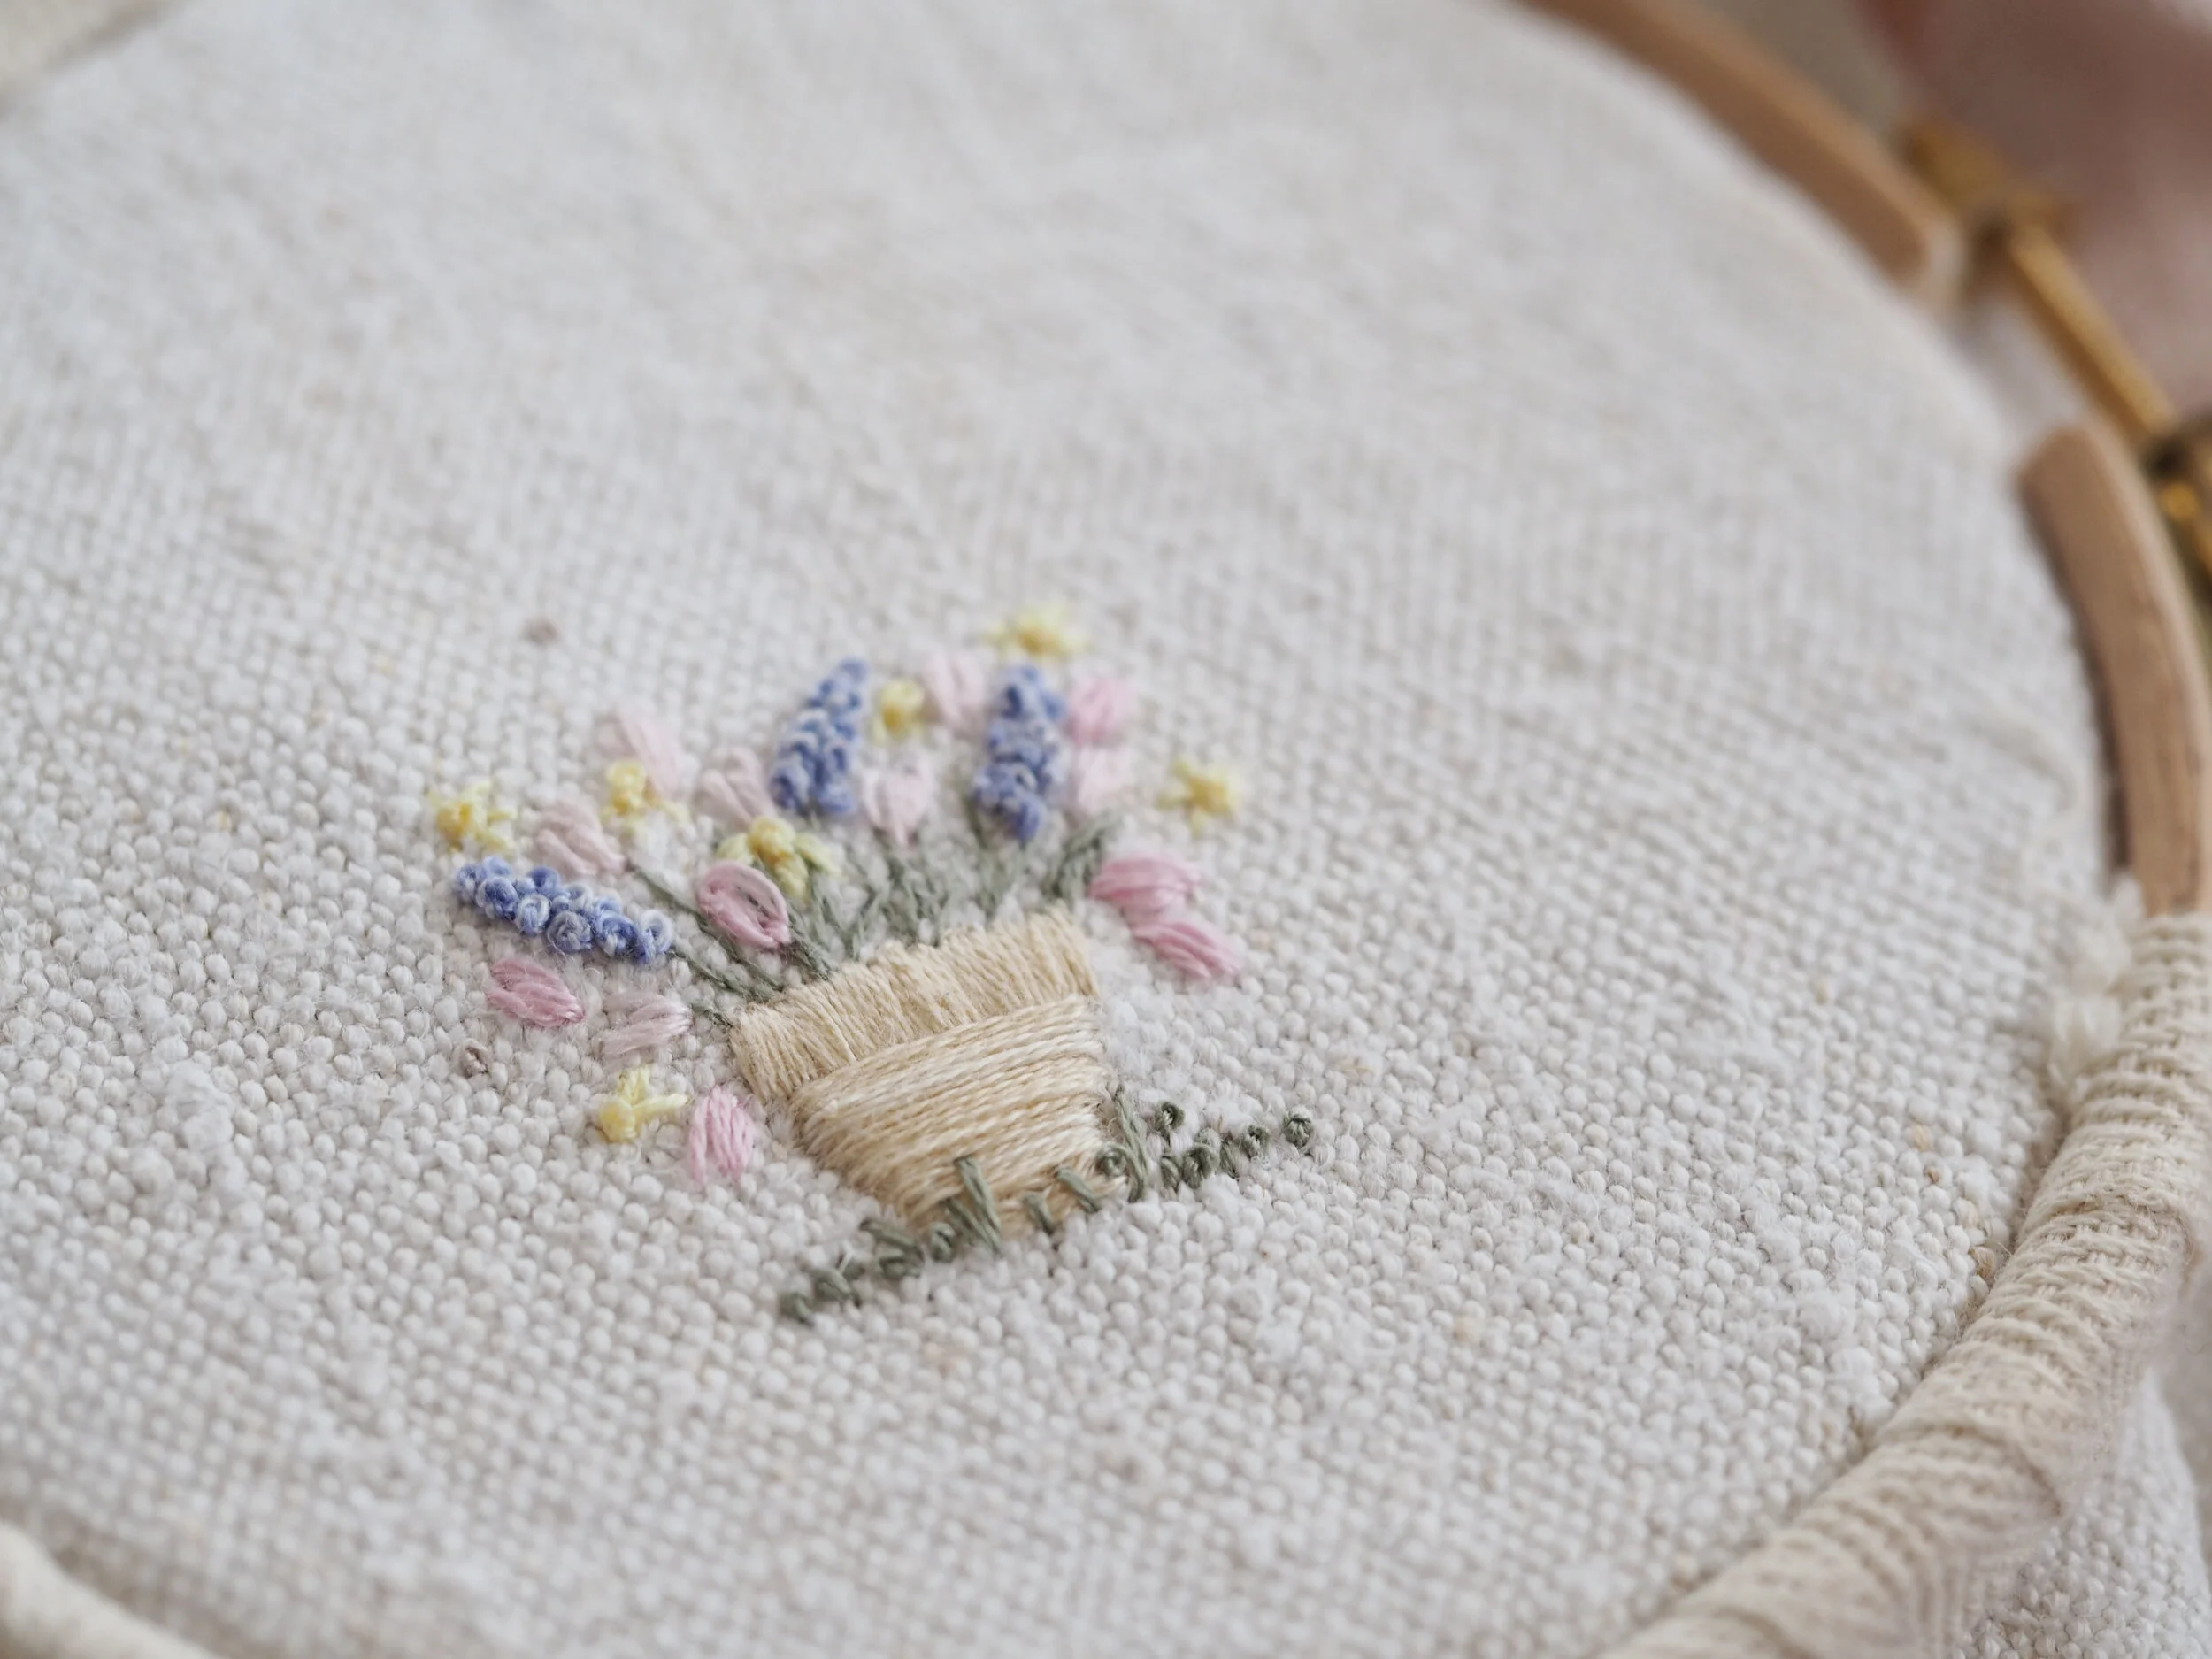
It isn’t often I share the things I am stitching because I am usually working on something secret for one of the subscription kits. However, as I worked on the March Haven kit I decided to lift a tiny motif from the design that I thought would be nice stitched for a homemade Mother’s Day or Easter card. You could, of course, also make it into a tiny lavender pillow. (If you do make this into a lavender pillow I would recommend using a larger square of fabric - I love a tiny motif with a lot of negative space around it.)
We could do with a little cheering up, am I right? And if we have to stay at home we may as well be stitching!
The possibility of being quarantined here in the UK feels very real and I have huge sympathy for my Italian friends at the moment. (Please pop over to my friend Cristina Embroidery Therapy on Instagram to say hi and cheer her up!)
Let’s get started and stitch away our troubles!
STITCH INSTRUCTIONS
You will need:
5’ square of linen (I used a slubby antique hemp).
4” embroidery hoop.
Sharp embroidery scissors.
A size 7 crewel needle.
Stranded embroidery cotton: Dark pink, light pink, yellow, mid-green, beige, dark blue and light blue. I used DMC.
Download and trace the attached pdf (file at the foot of the page).
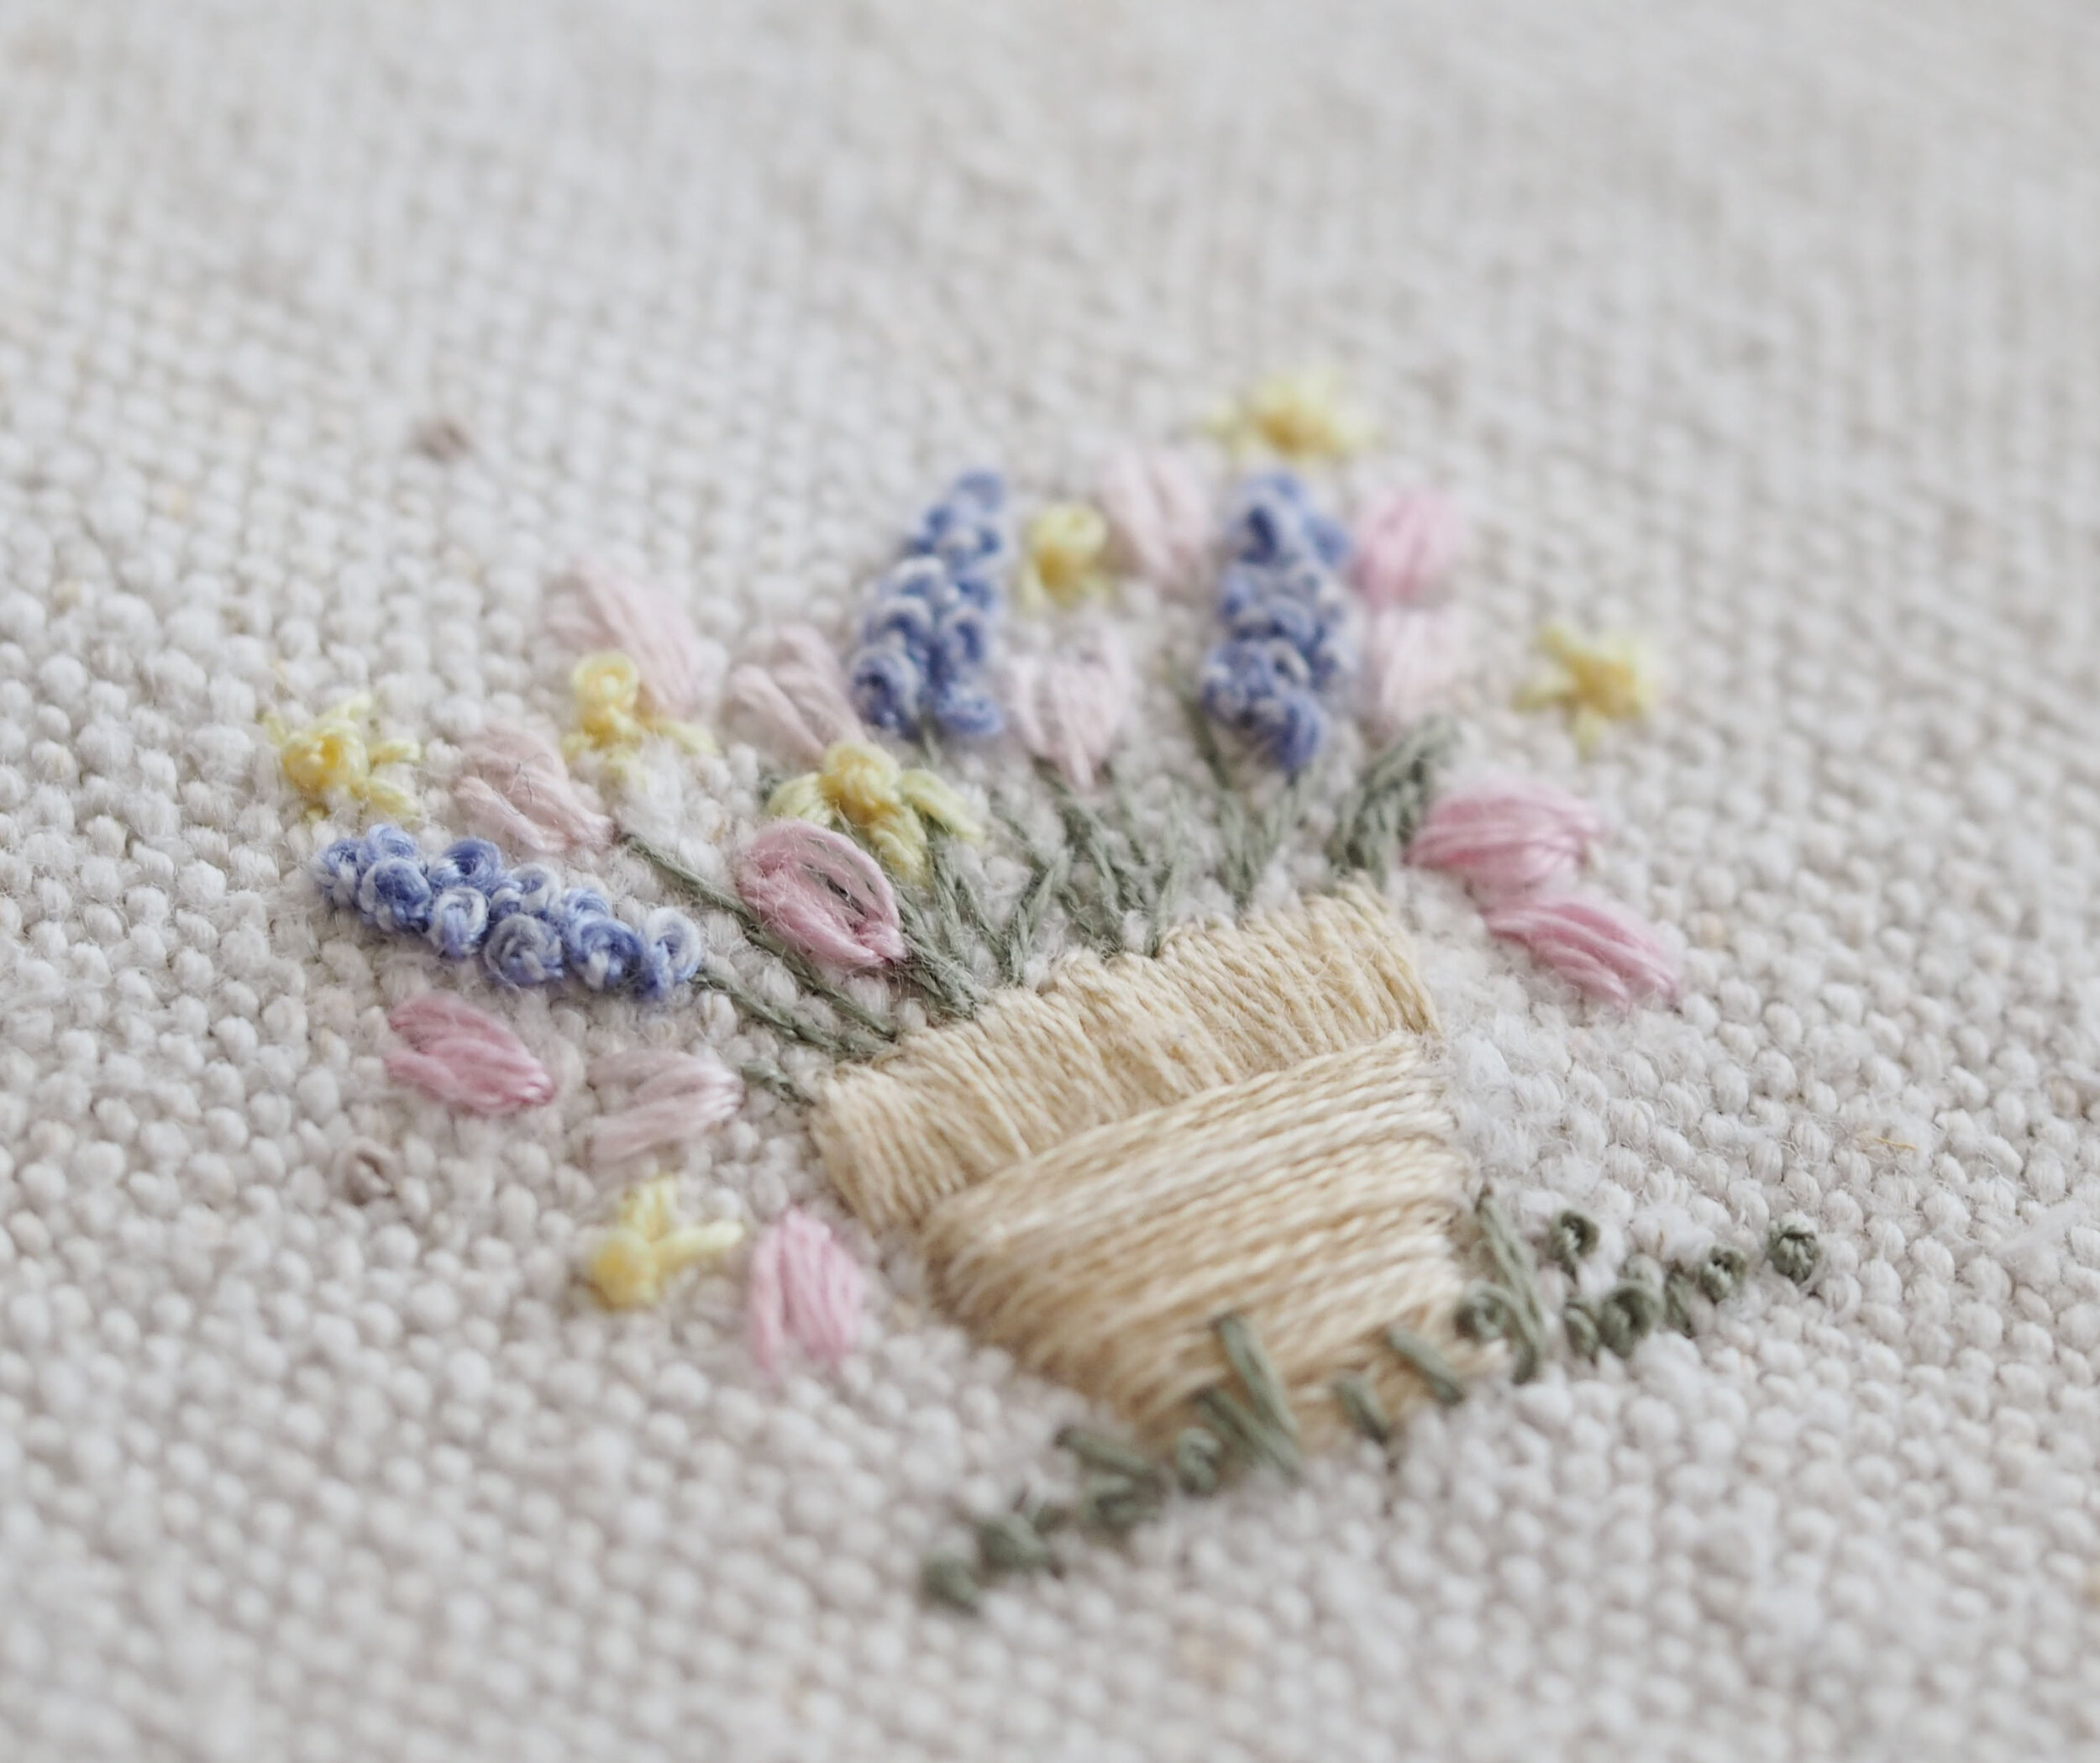
Begin with the stems of the flowers. Use one strand of mid-green thread and make small back stitches from the pot up towards the base of the flowers. For the thicker leaves, make columns of back stitches close to each other to fill in the shape. Layer your flowers on top of the stems.
Next stitch the hyacinths. Thread your needle with one strand of dark blue (a nice purply blue is good for this) and one strand of light blue thread. Make French knots to fill the shape, tapering towards the tip of the flower head. Wrap twice around the needle.
I made tulips in two different shades of pink; one very pale pink and one sugary pink. Use two strands of pink thread and make an open lazy daisy stitch with the catch at the base of the flower, near the stem. (You can see this more clearly in my March video on Youtube.) Fill the open stitch with one or two straight stitches.
For the daffodils use two strands of yellow thread and make tiny star shapes with straight stitches. Pop a French knot in the centre, wrapping twice around the needle. To achieve the appearance of a daffodil in profile, stitch just three or four petals with the French knot to the side of them.
Work the pot outlines with two strands of beige thread using a very small split stitch. Fill with a rough satin stitch using one strand of thread. I worked the rim of the pot in vertical satin stitches and the base in horizontal stitches, to add interest. Make little straight stitches at the bottom of the pot to suggest grass. I added a couple of French knots too, only wrapping once.
Remove the pen lines, press face down on a fluffy towel, and you’re done!
I hope everyone is staying well and healthy. We’ve resigned ourselves to the fact that we need to stay home for a little while and stocked up yesterday on kindling, bread, milk and treats so that we can do our bit (however small) to help slow the spread of this nasty virus.
With love for a happy weekend,
Nicki xxx

You can trace from your laptop, tablet or phone. Just ensure that the image is the correct size - it is tiny - 3cm at its highest point. Use an erasable pen to trace onto the linen. If your fabric is too thick to see through, trace with the old-fashioned tracing paper technique: trace, turn paper over, trace reverse with a soft pencil, turn back the right way and trace onto fabric, pressing hard with pencil.