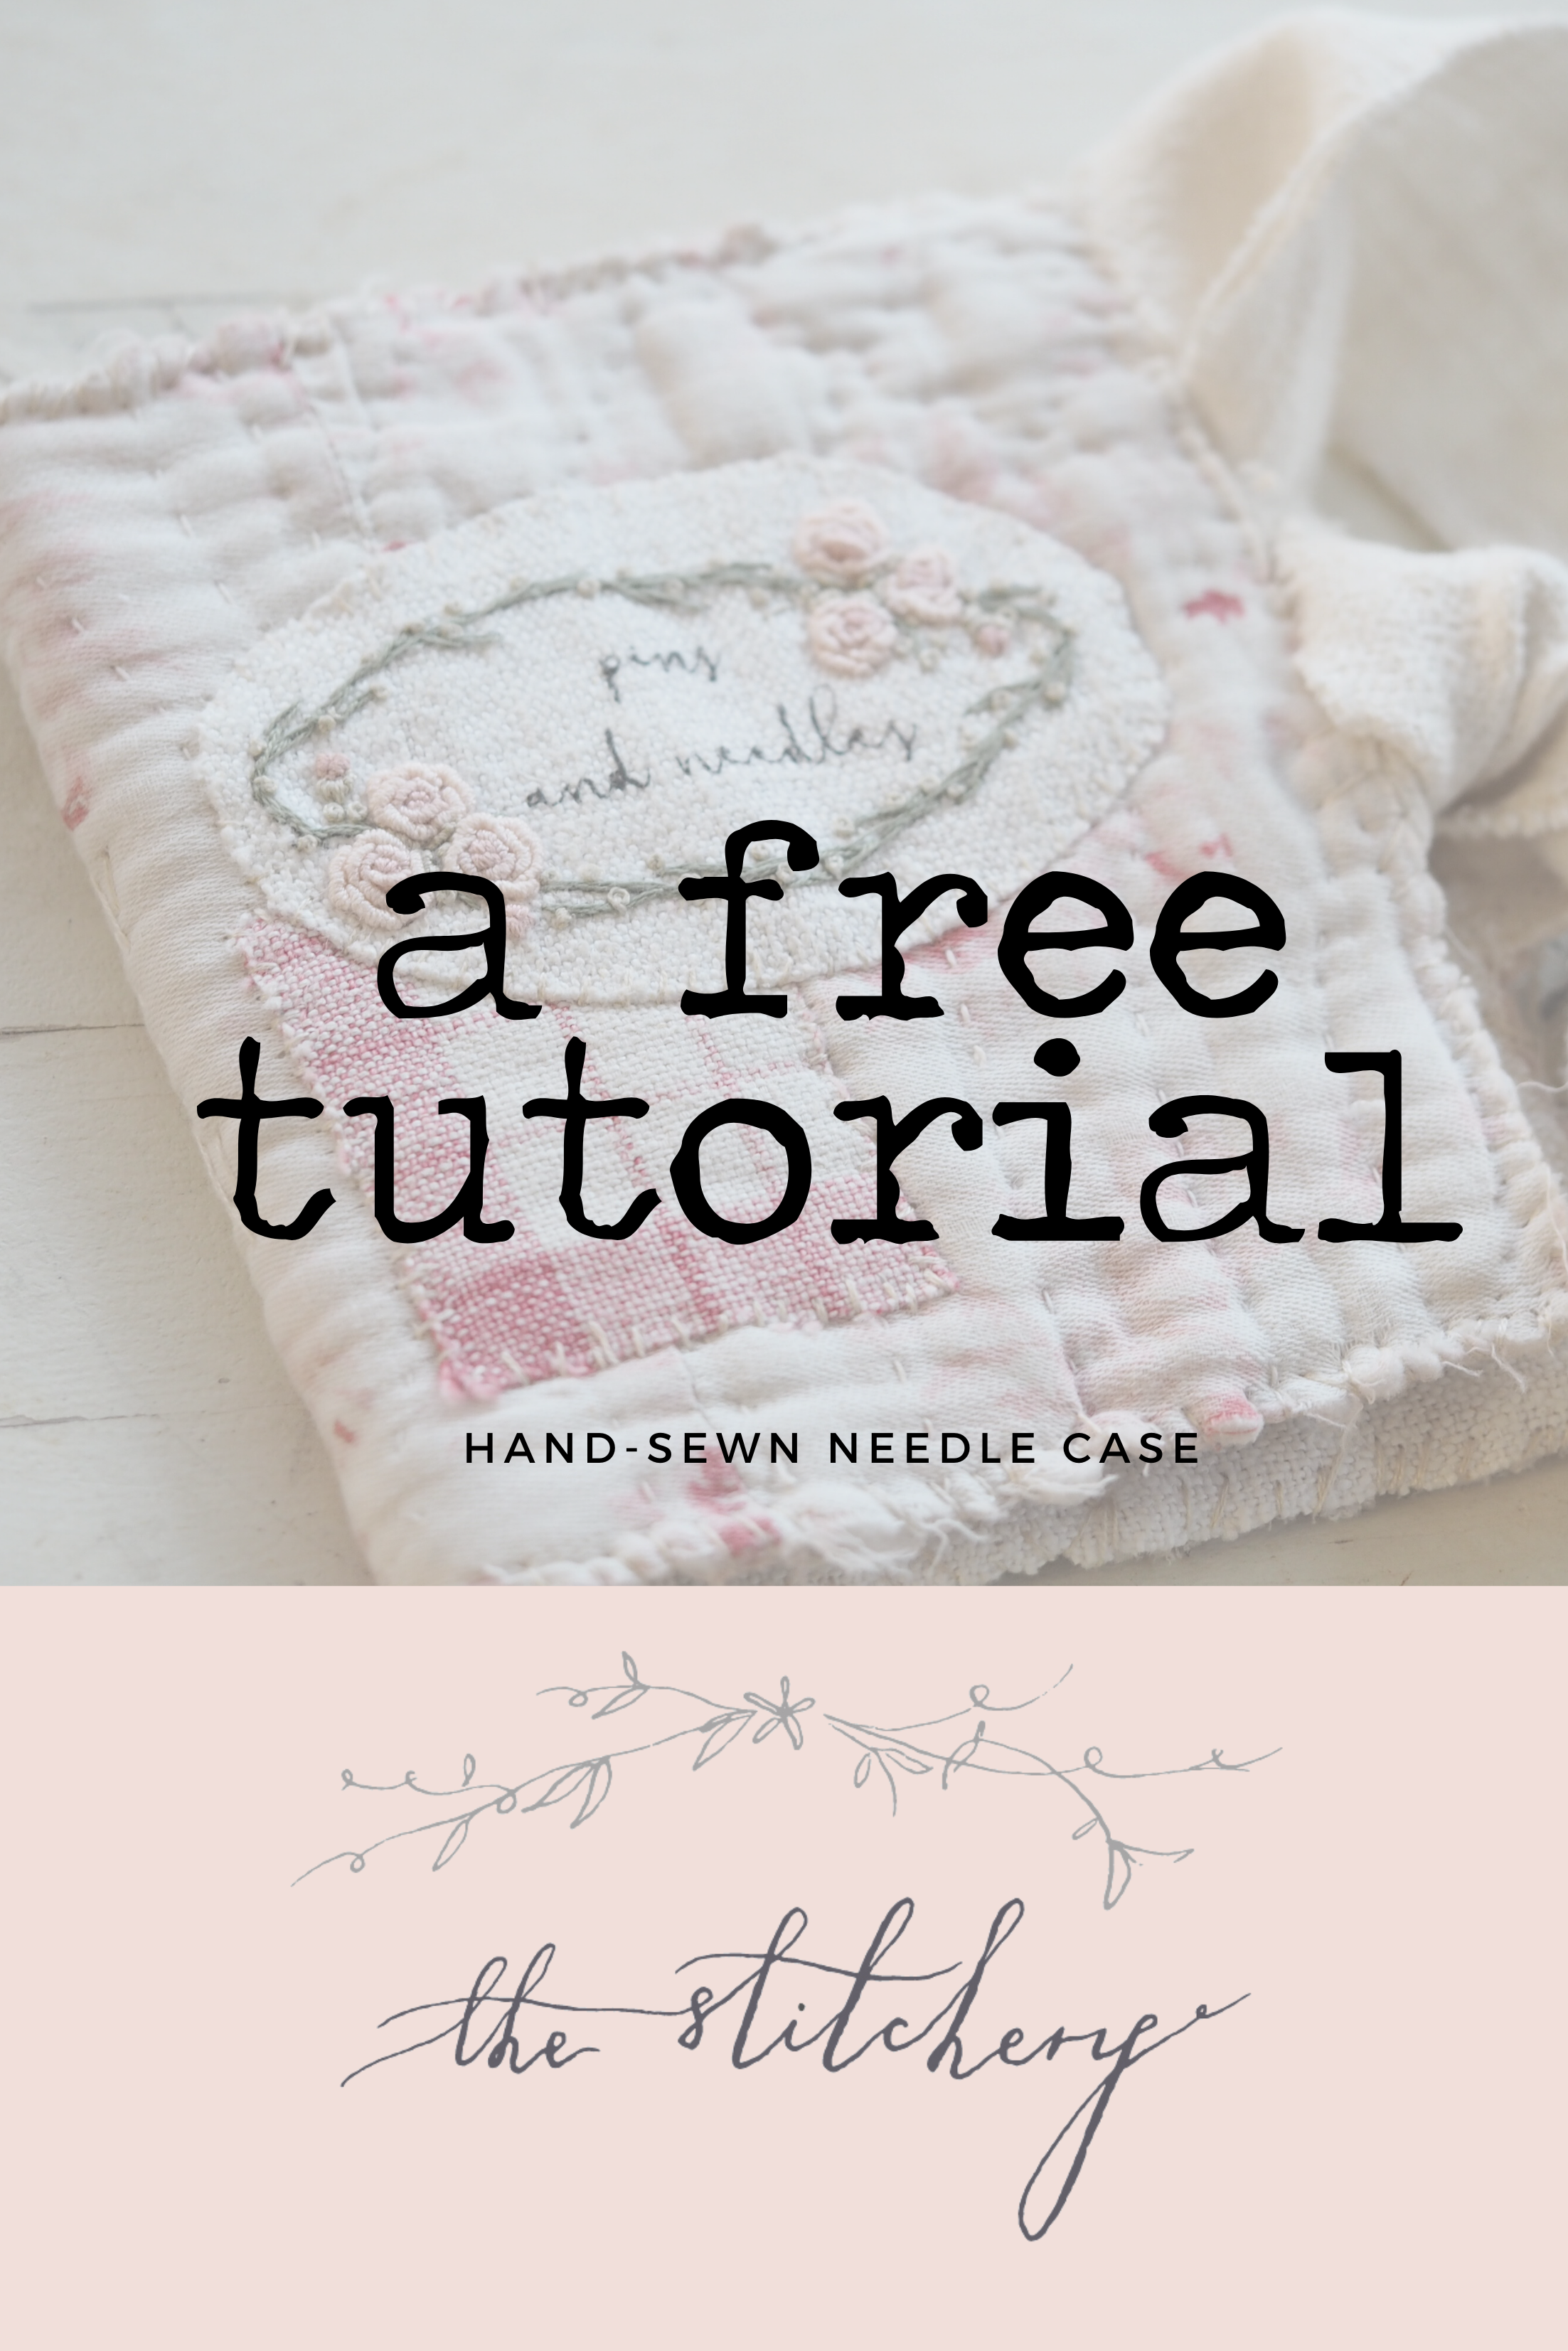
Regular followers will know that I love a needle case! I make them a lot for myself, and friends, and often buy them from fellow makers. A handmade needle case makes a lovely gift for a stitching friend; you can make them as simple or intricate as you like; as small or as large as you fancy.
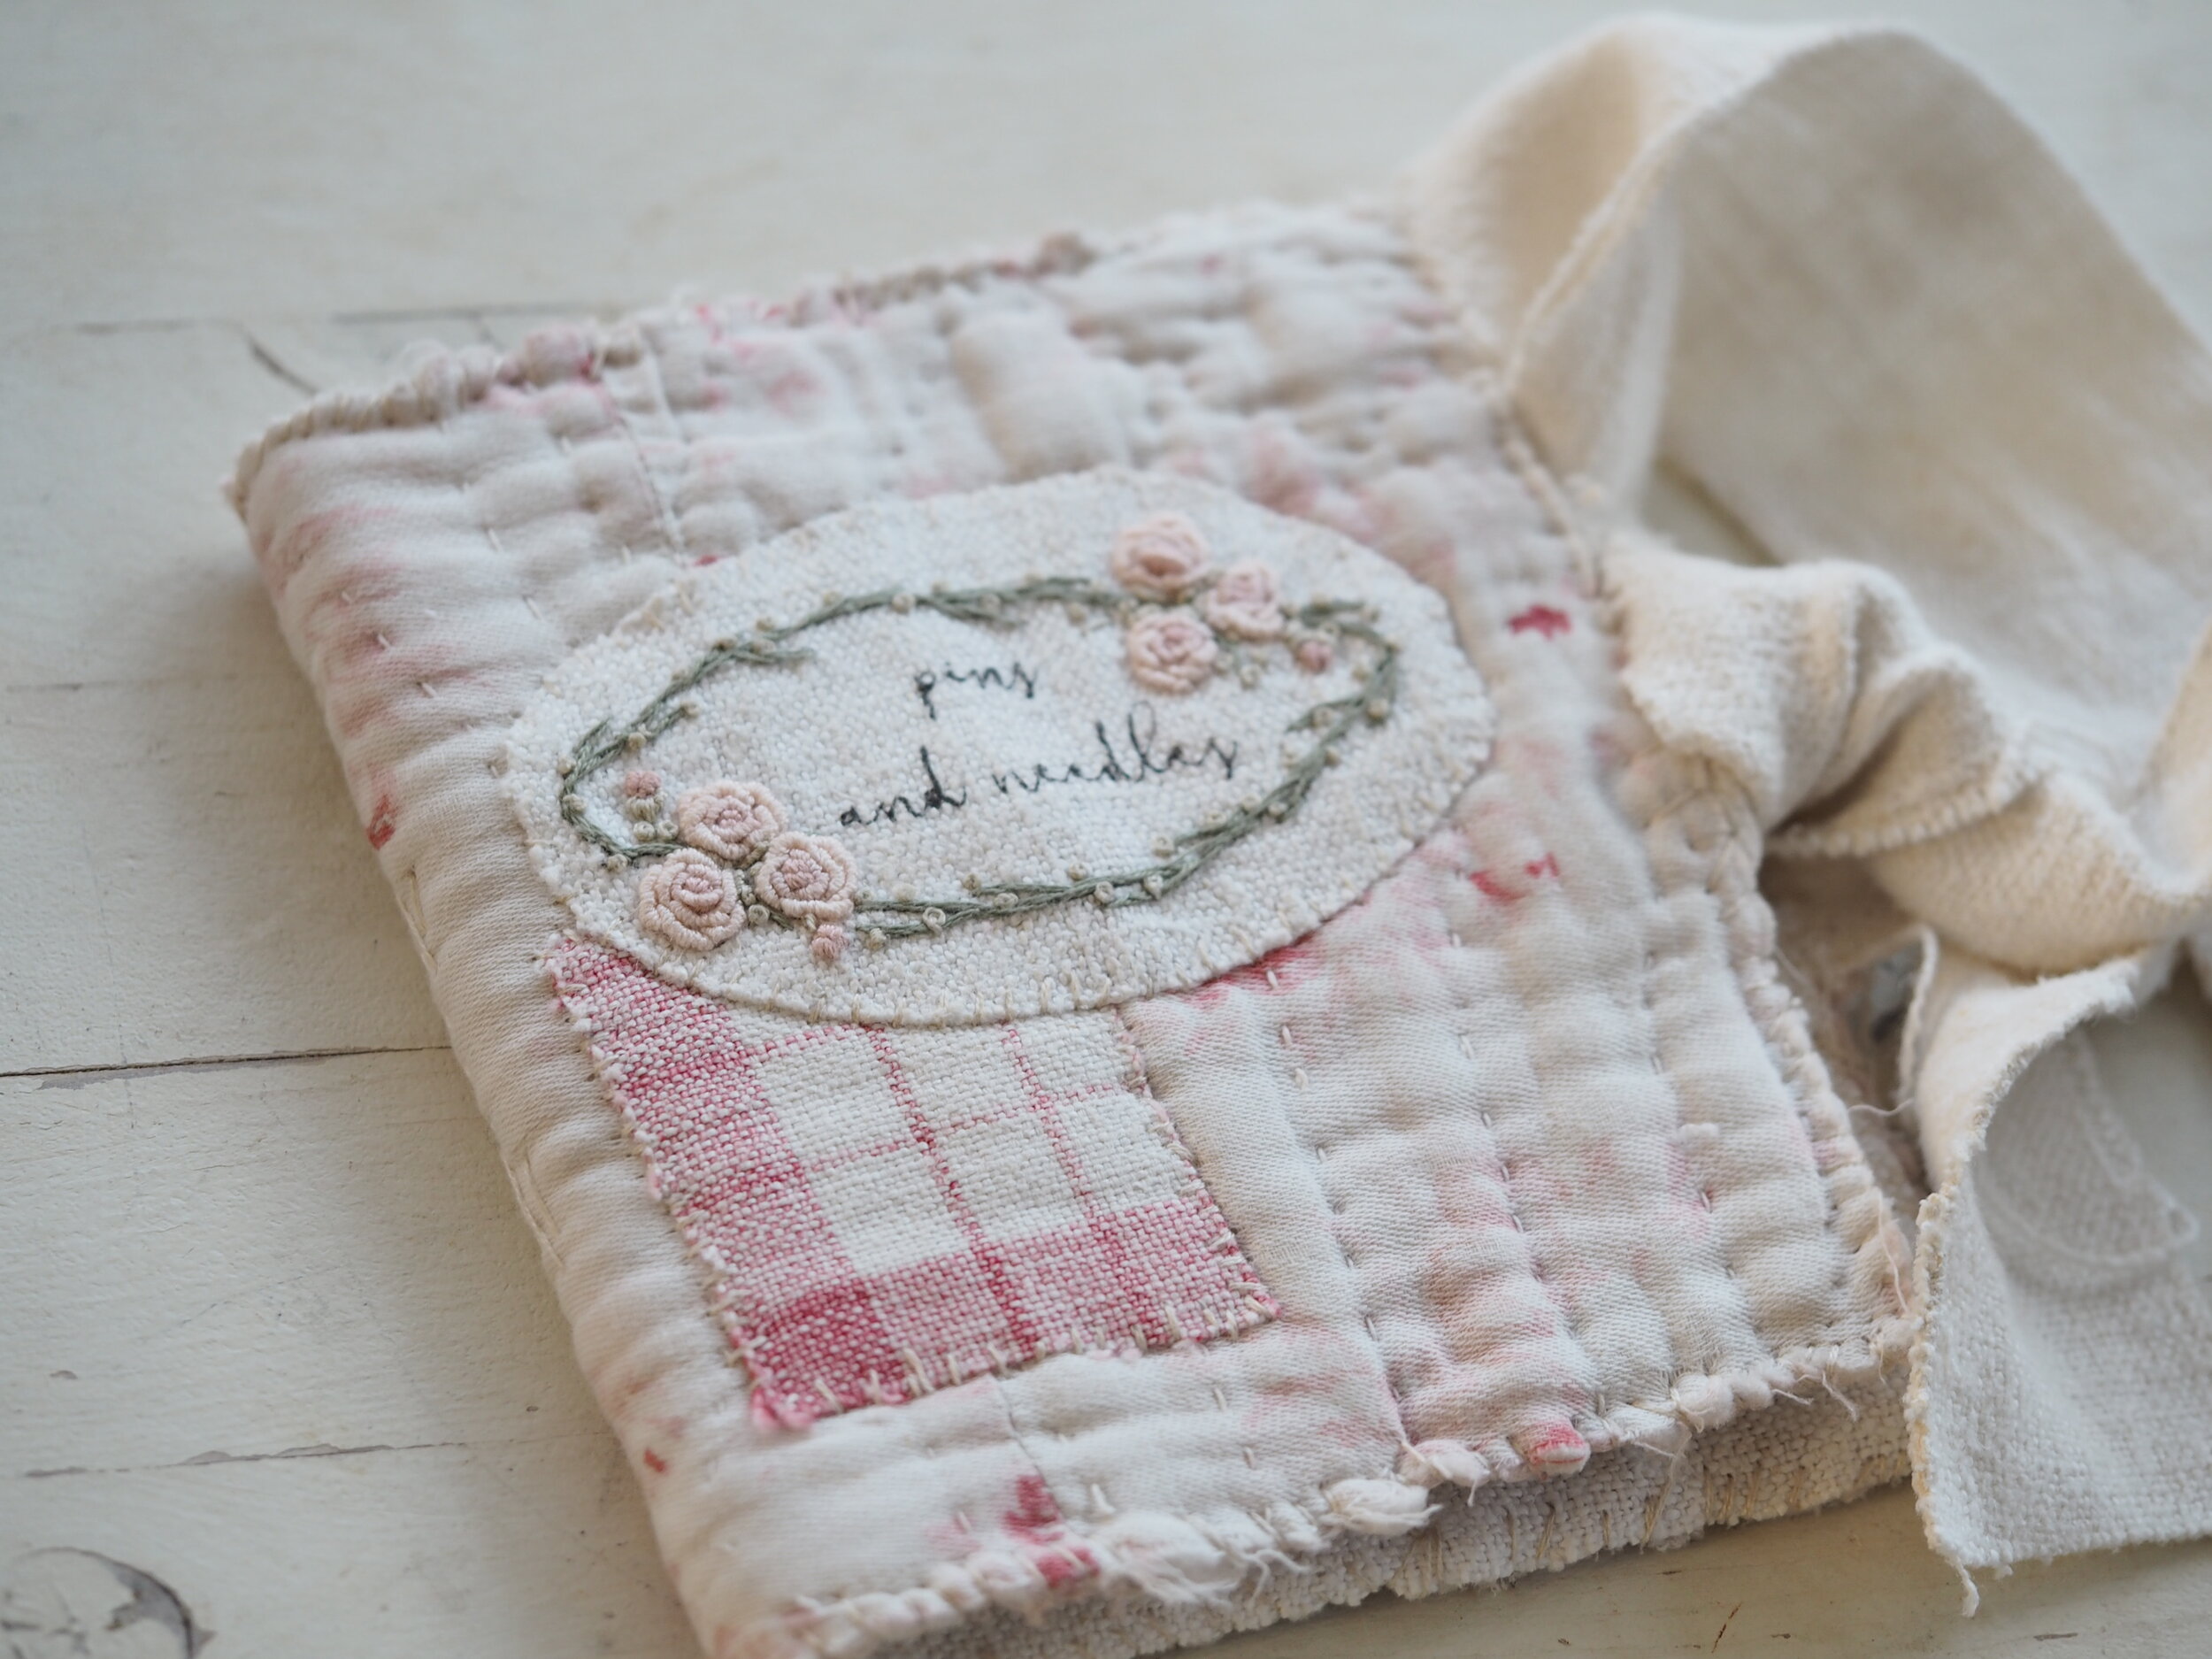
This is a tutorial for a very simple hand sewn needle case. I designed it for a workshop at The Dorset Brocante and provided the little printed patch for stitchers to embroider and attach to the front of the book. The patch is available here if you’d rather buy one but you can make your own patch quite easily if you like. I’ve added the pdf pattern below if you’d like to trace it - I printed the pattern and text on to mine and left the text as is, without embroidery. It is permanent ink so won’t disappear. For the text you could use small rubber stamps or handwrite if you have neat writing (I don’t).
Below is the list of items you will need. Gather your supplies, grab a cuppa and let’s get started.

Complete the embroidery
Download the pattern here and transfer using your preferred method and fit a hoop to your fabric. A 4” hoop is perfect.
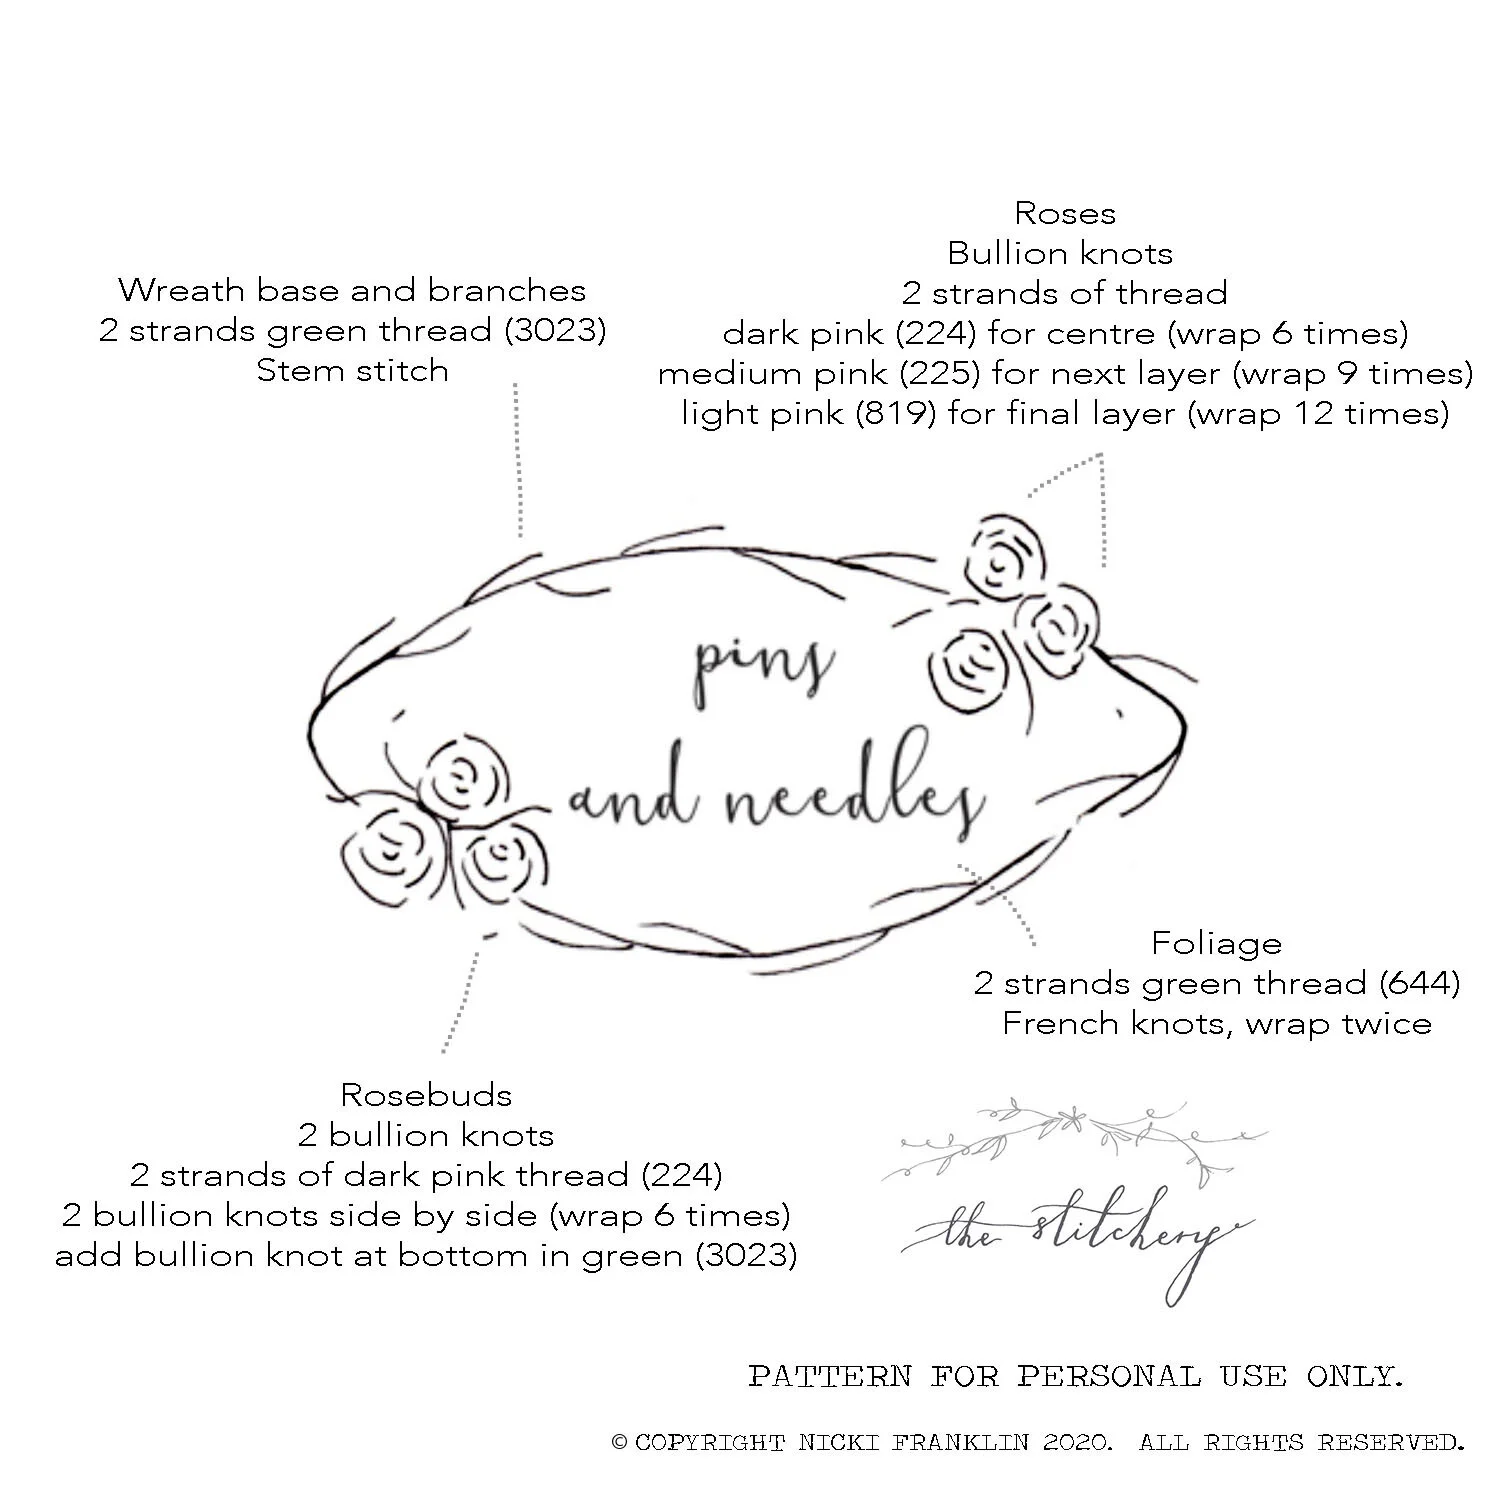
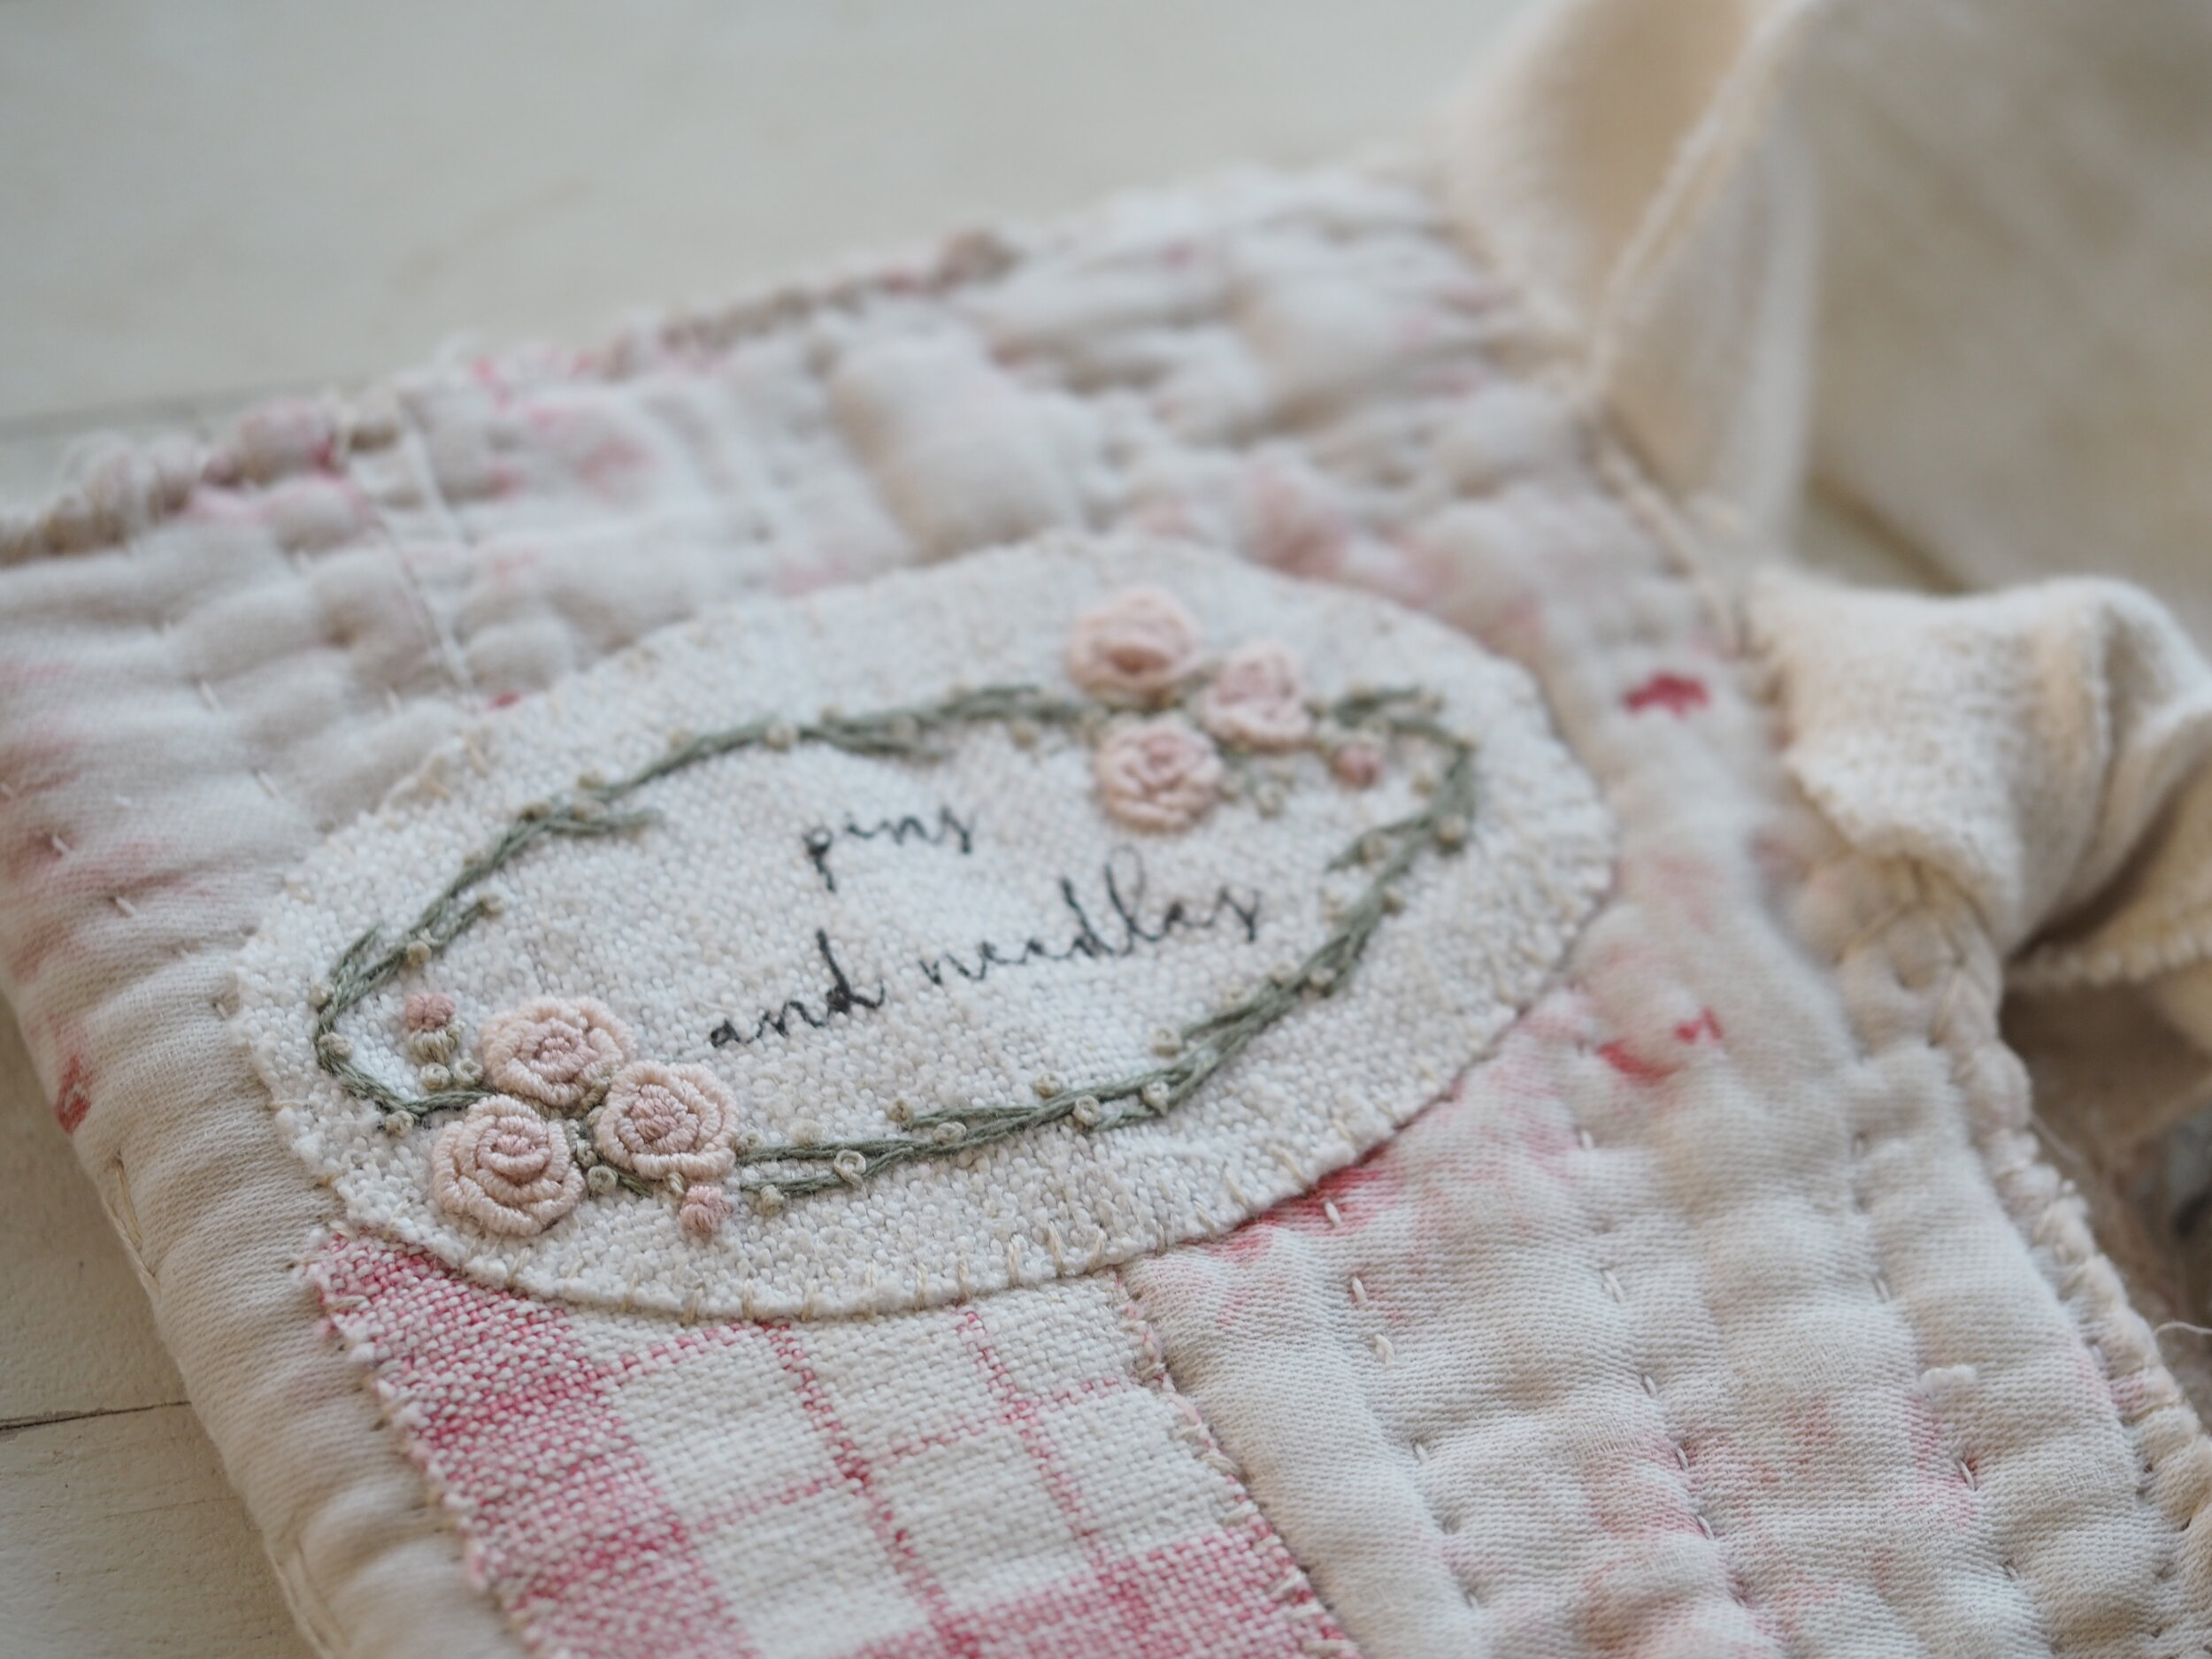
Begin with the wreath base and branches. Using two strands of darker green (I used DMC 3023) work a split stitch to cover the base and all branches. Add little French knots for foliage randomly around the base. I used two strands of light green thread (DMC 644) and wrapped twice around the needle.
To stitch the roses, first make two bullion knots close together for the centre of the flower (the rosebud). Use two strands of the darker pink (DMC 224) and wrap around the needle six times. Make sure they are close together with one slightly higher than the other.
Make three bullion knots around the rosebud. Use two strands of medium pink (225) and wrap around the needle approx 9 times. Make sure you curve the knot around the rosebud as you lay down the stitch. Take care also to overlap the petals for a more realistic effect.
Finish the outer layer of the rose petals with the lightest pink (DMC 819). Again using two strands of thread, make bullion knots overlapping and curving around the flower, you will need to make five or six bullion knots to cover around the edges. Wrap around the needle 12-14 times. Add French knots in the light green (DMC 644) in and around the roses.
Make rosebuds where indicated on the photograph. Do this as per the first round of stitches for the whole flower but make a bullion knot in green (DMC 3023) to curve around the bottom of the petals to suggest a calyx.
If you don’t like bullion knots, you can make the roses with spiralling stem stitch or a woven wheel.
Press your work on a fluffy towel and it is done!

Make up the case:
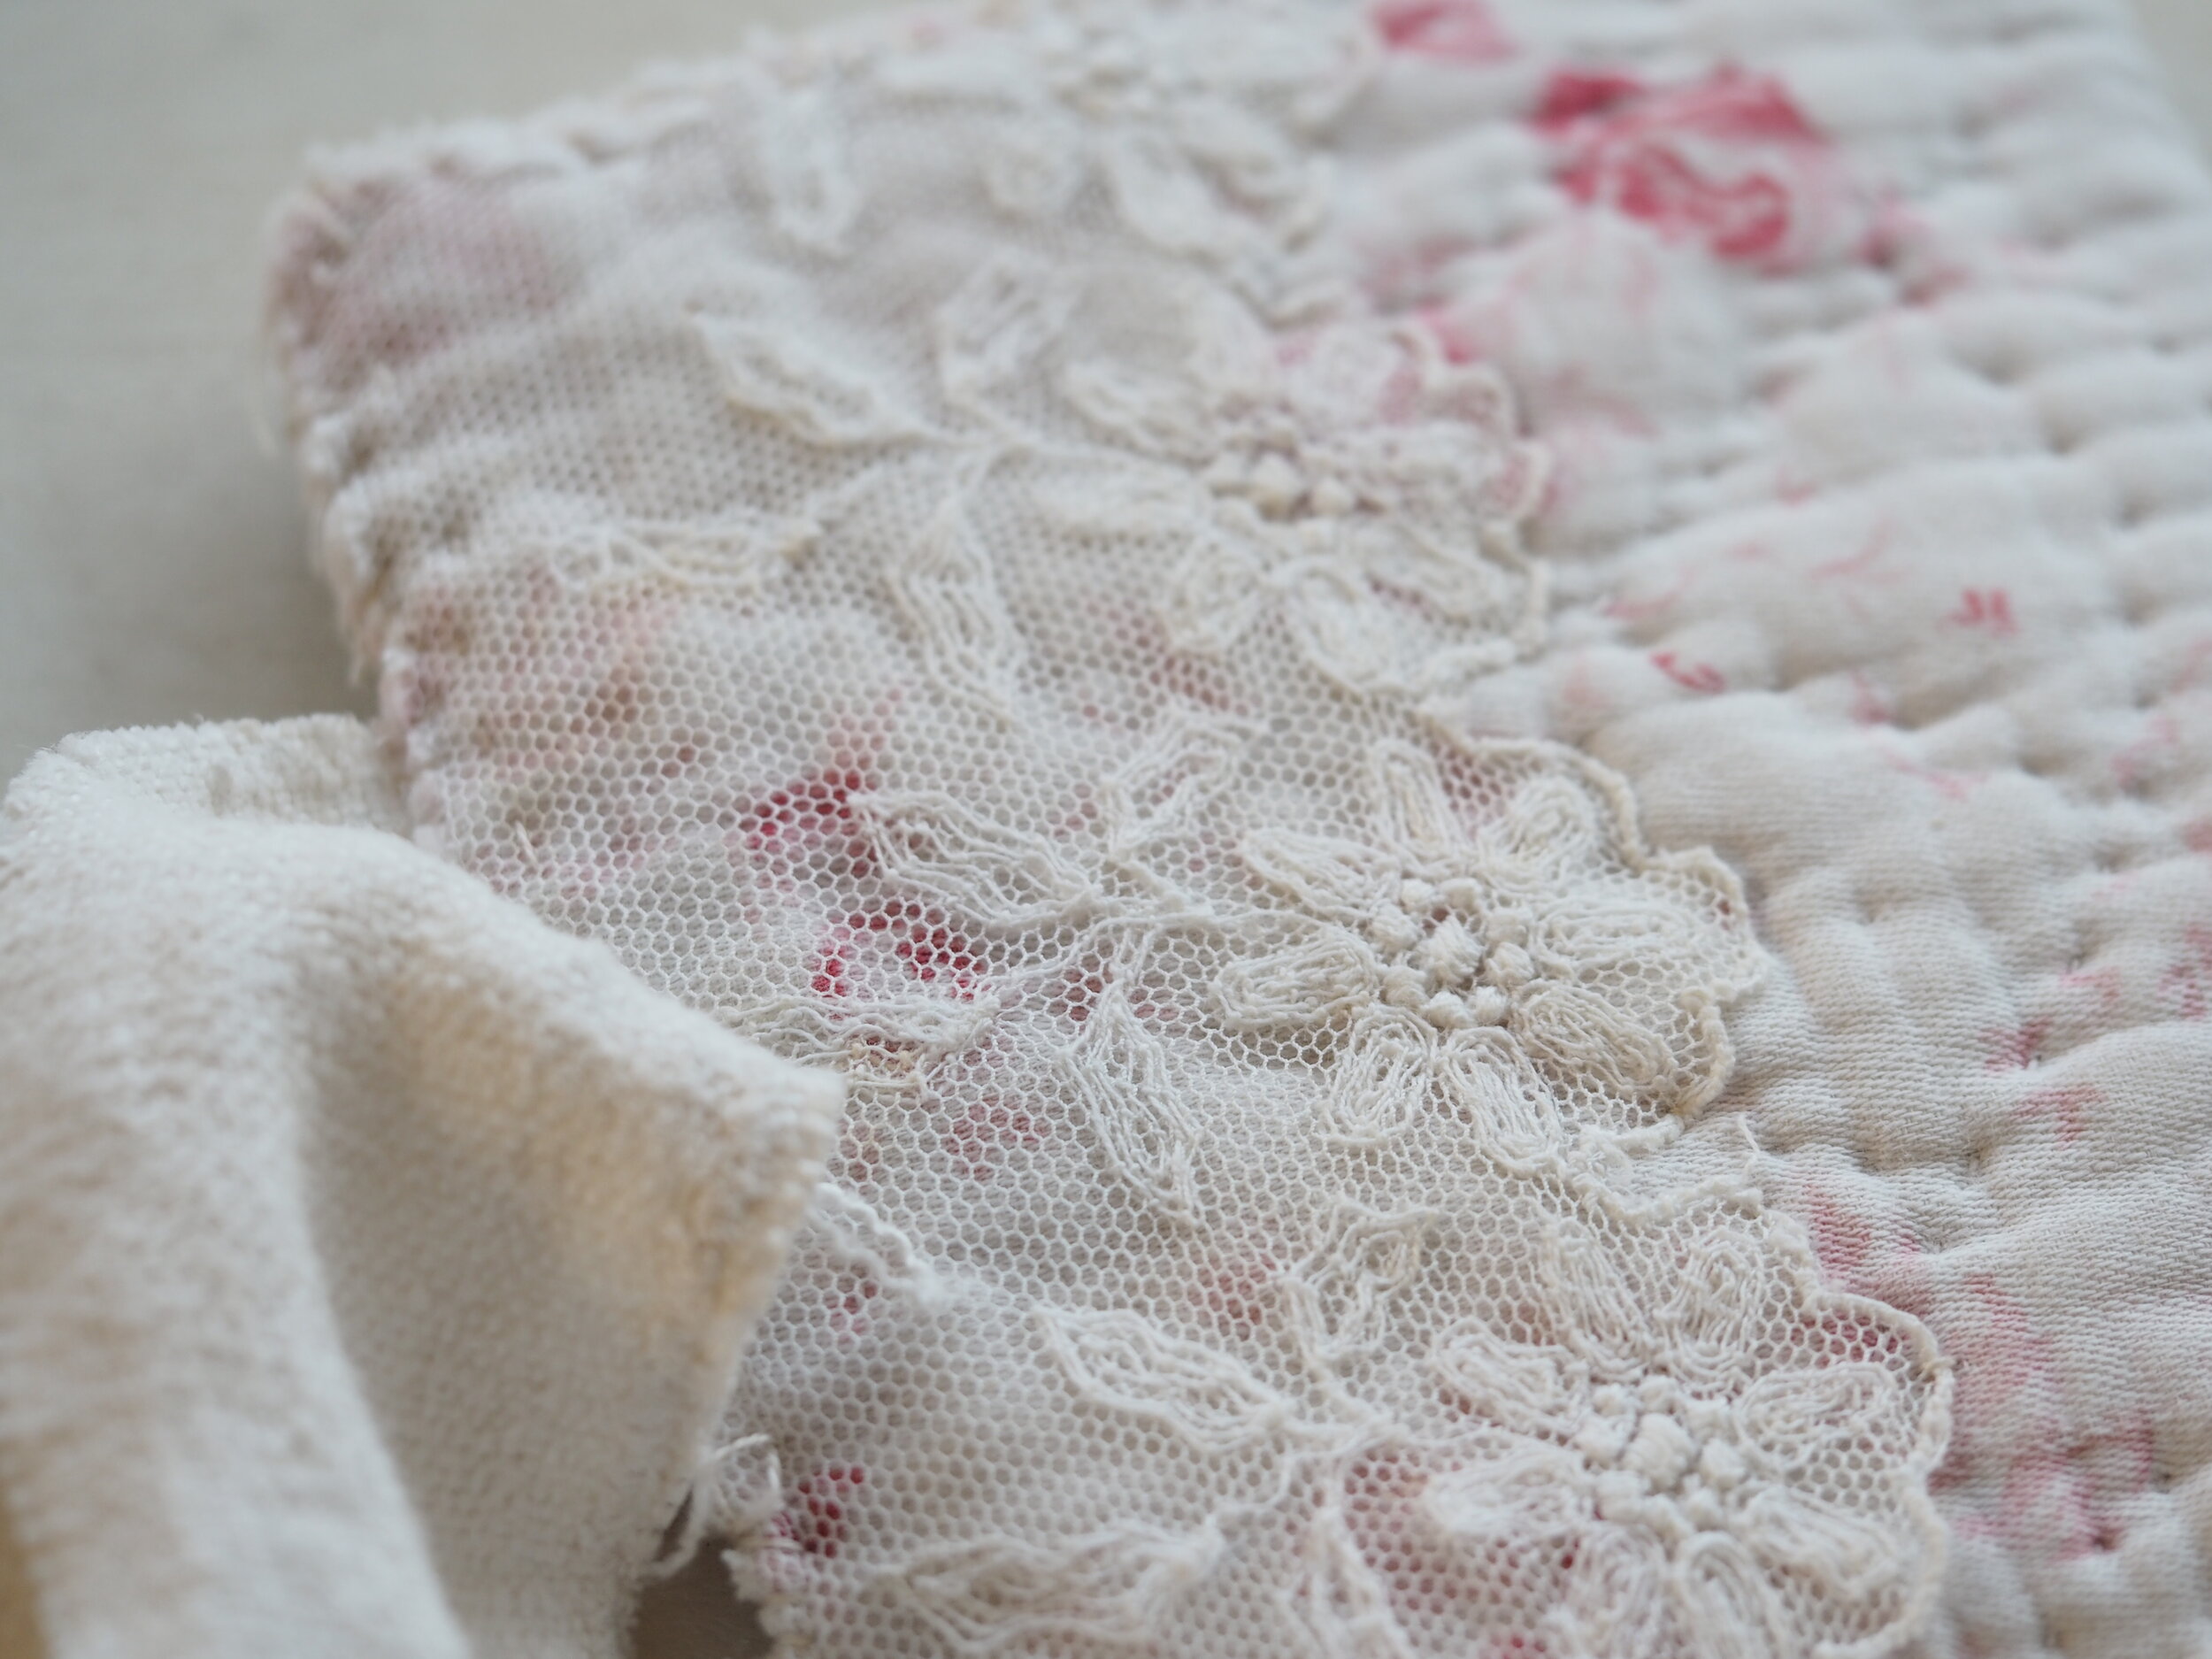
Stitch the lace to the back of the needle case using tiny stitches across the edge just to catch it down. Use one strand of your ecru thread for this or a neutral general sewing thread.
Cut a small patch or two of contrasting fabric and apply fusible web to the back with a hot dry iron. I used a piece of old checked fabric. Apply fusible web to the back of the fabric patch with a hot dry iron. If you haven’t used fusible web before: The paper side of the web should be on the outside and the cobwebby fusible side of the web should be facing the back of the fabric. Press with an iron for a few seconds and let cool. Remove the paper from the back of the fabric (score down the centre with a pin to make it easier to remove). The back of the fabric will now seem slightly rubbery – this is the adhesive and means it is ready to be fused to the needle case. Put the fabric in place on the quilt piece, right side up and press with an iron for a few seconds. The checked fabric should now be attached to the quilt. Stitch around the edge of the fabric patch with a basic rough whip stitch using strands of ecru thread. Add other small patches to your quilt in the same way if you like.
Now fuse the embroidery to the bondaweb in the same way and cut an oval shape around it. Attach to the front of the needle case and stitch around the perimeter, again with a basic whip stitch. These whip stitches are just decorative as the bondaweb will hold the patches in place permanently.

rough stitches catch the linen ties in.
Catch the linen ties in place on the inside of the needle case using a couple of stitches trying not to come through at the front of the quilt (these stitches can be removed at the end if they do show so don’t worry too much.)
Attach the plain linen to the inside of the needle case using bondaweb and work a rough stitch around the edge, being sure to catch the edge through the linen ties.

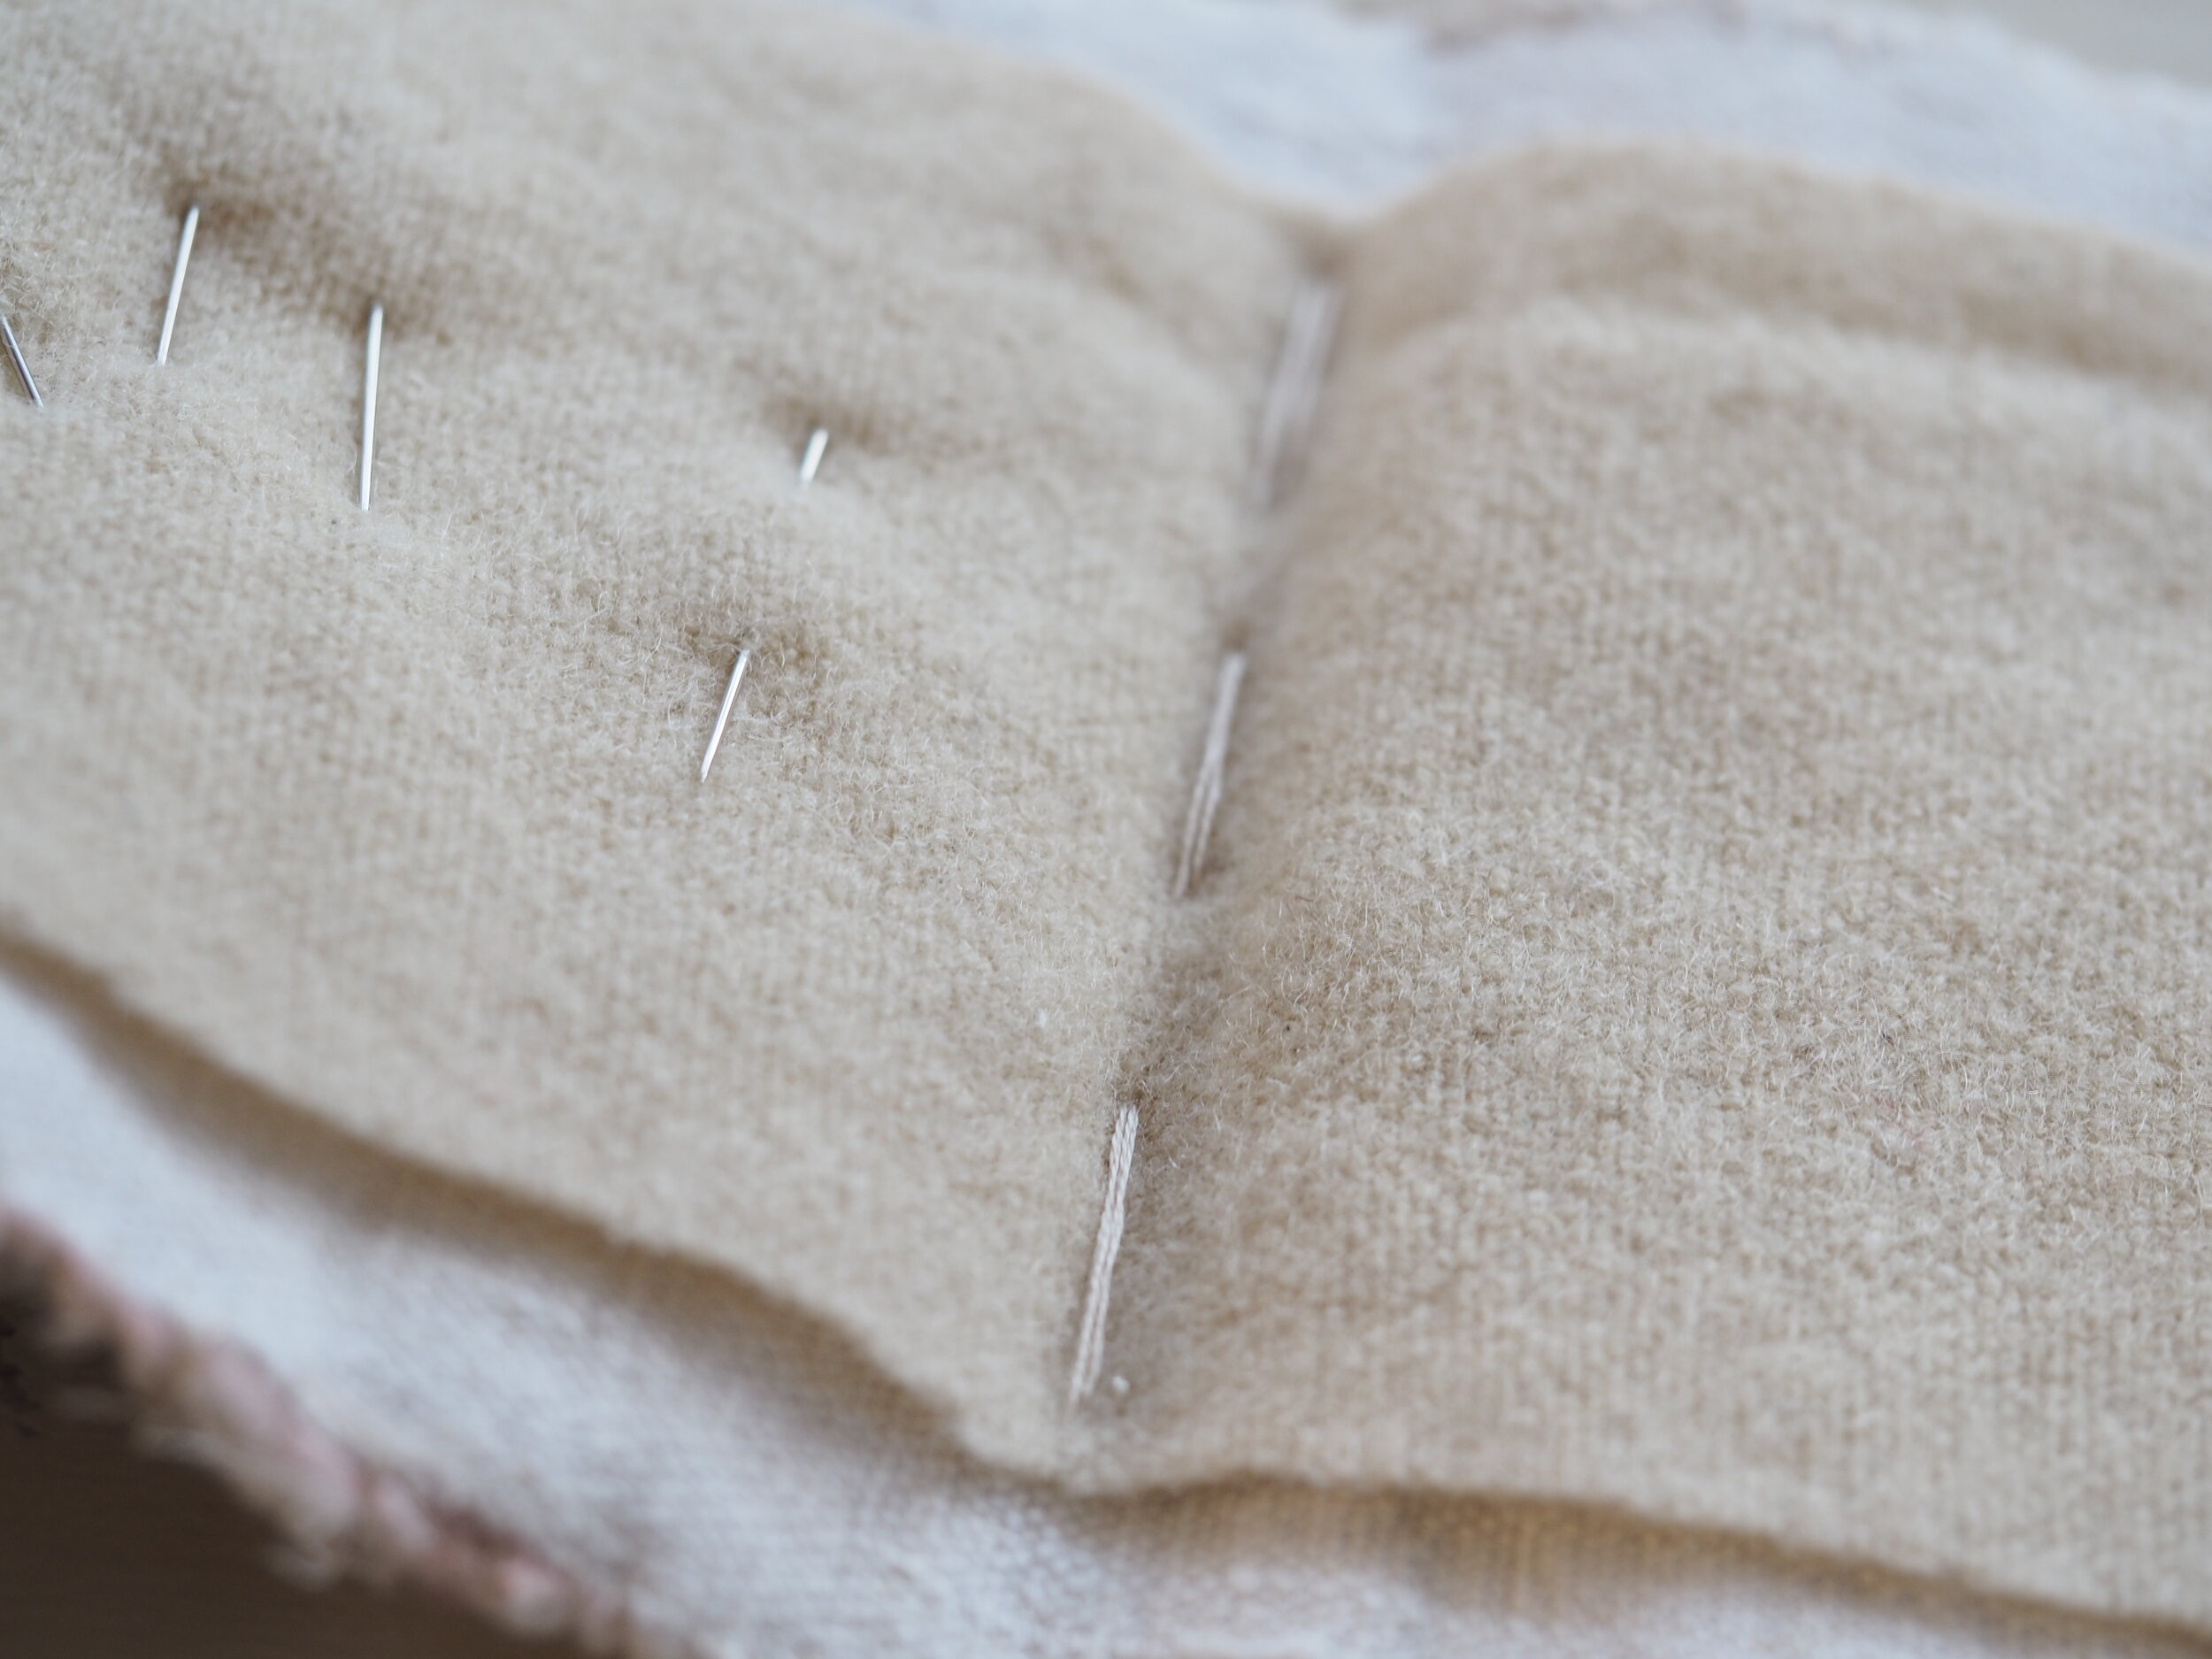
Attach the piece of wool to the centre of the case with with a basic long running stitch. Fold and press the case – you are done!
Pattern notes:
If you don’t have fusible web you can attach the patches and linen using only the stitches but be sure that your whip stitch is strong and secure. You could also hand quilt the inner linen to the quilt piece to further secure it.
Add an extra square of felt to the front and back of the needle case for additional room. You could also make a simple pocket for your scissors by attaching another piece of fabric on the inside. The idea of this needle case is that it is rough yet tactile, with the shabbiness of the quilt and the torn linen contrasting with the delicacy of your embroidery.
You could of course add two pages of wool felt to the centre of the needle book. Patches, darning and embroidery inside the case would be pretty too.
If you’d like to have a go at making your own embroidery pattern, draw a rough oval and position flowers where you like (you could just substitute the roses for daisies or make a wreath of hyacinths around the edge). I used an old pink quilt piece and the pink roses fit beautifully but white roses are a good option too. Choose a darker beige for the centre (maybe DMC 3033) with an off-white for the next layer of petals (maybe DMC 3866) and then the final layer with a brighter white (DMC 3865). I rarely use DMC Blanc; it is almost glaringly white; 3865 is much softer.
I would love to see your version on social media; I especially love progress photos with cups of tea and scraps of fabric laying around. Please share via #thestitcherystudio hashtag on instagram if you can. It is nice to feel connected, particularly now.
Happy stitching (and if you notice a typo or something isn’t clear please drop me a message below and I’ll fix it.) .
With love,
Nicki x
PIN ME to remember for later…